I always enjoy my ONE DAY installs. My client and her husband just moved to their new home and hadn't a clue where to start with all of their decorating. They were consolidating homes and had a bit of this and a bit of that and a lot of wonderful collections too! They hired me to "use what they had" to make their home beautiful.
I met with them for a "Walk-thru" consultation first and I helped them select paint colors for certain rooms. I then took an inventory of the items they had and made a list of some accessories that we could add to their mix to make the final reveal look more complete. Doing "One Day" installs is one of my favorites, it's my passion! I want everyone to be able to have a beautiful home and it doesn't always mean purchasing ALL brand new items. Mixing it up and adding some creativity to your home is what makes it personal!
Isn't that what Pinterest is all about these days?
On the day of the install (a week later) I made them leave for the day (so they could be surprised) and we got to work! Half way through the day, I heard the front door open and it was my client, she couldn't wait and wanted a peak....I immediately told her she wasn't allowed to peek :) and sent her on her way :) She was just so excited and thought I'd let her see a glimpse into what we were doing. I was just as excited :)
BEFORE
AFTER
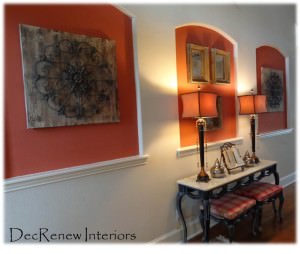
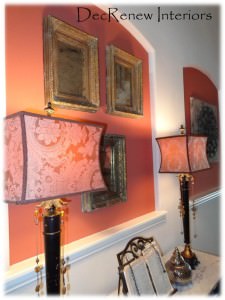
My team and I went through each room and pulled things from other rooms, shopped in closets, the garage, and even the patio. We also placed some new items (lamps, accessories, pillows, wall art, mirrors, etc.) as well. These three niches are something you see a lot in new houses. I don't like them because they limit what you can do and make new homeowners that don't have a clue about decorating even more frustrated!
I recommended they paint the insets Sherwin Williams "Foxy" to go with their rug and other furniture they have in the house. In the past, I've wallpapered, faux finished, tiled with a metallic pearl tile, stenciled, etc. but for these niches it was more cost effective to paint them.
The homeowners had a formal flair to their decorating style and I suggested that we break that up a bit. Adding old and new items, formal and casual, makes a room feel a lot warmer and more inviting. I want rooms that I decorate to be spaces that people actually go in and enjoy! Their house needs to have "lived in" spaces not just "for show" rooms.
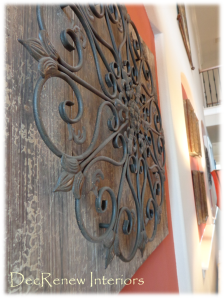
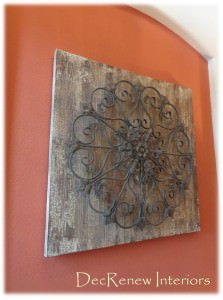
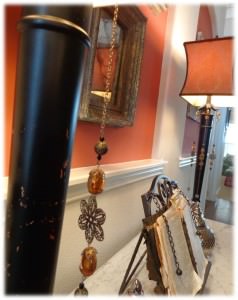
Adding the rustic panels to two of the niches added the casual, comfortable, rustic flair. For the middle niche, I added three antiqued & distressed mirrors in gorgeous frames. They look really stunning with the buffet lamps I purchased for them.
Their family Bible that has been passed down for generations was placed between the lamps because that is the one thing the homeowner really wanted!
BEFORE
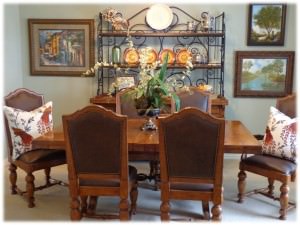
The dining room was painted a wonderful sage green.
AFTER
I took a leaf out of the table as it was way to big for the room. The leaves can be added with no problem but for every day, it needed to be smaller.
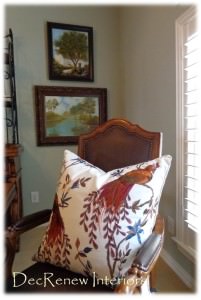
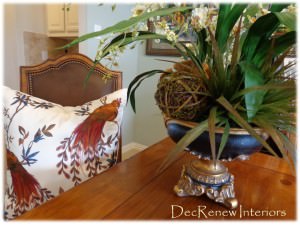
I grouped special artwork that was done by family together on one wall. I added a few embroidered throw pillows for color (the same red that is in the entry niches) and they made this dining room come alive and united this room with the entry. An "all natural" arrangement added to the table and it looks fresh and updated now. It brings me great joy when I can incorporate things that have special meaning to the family.
I spruced up their family room too.
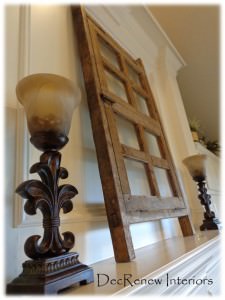
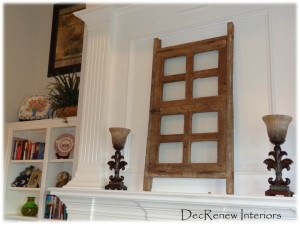
I found this old window in their garage and decided it would be beautiful on their mantel. Again, breaking up the formal feel and adding a bit of character and "old world" charm.
Rearranged the bookshelves and added some height to the room with artwork and wrought iron.
The butler pantry got a new look with her collection of baskets. We hung them on the wall because they are all so beautiful and did not need to be hidden in the closet.
The Master Bedroom got an animal print throw pillows to add to the mix and broke up the "matchy matchy" of her duvet set.
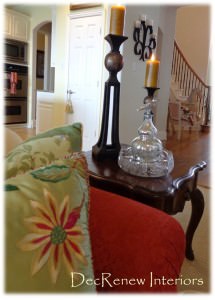
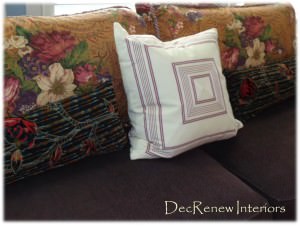
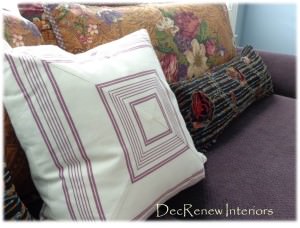
The couch back pillows were getting worn and had lost their form so I got rid of those. I then took the floral bed pillows off their bed and added them to the couch and I must say it looks wonderful. I made a nice quiet reading/chatting space for the couple to sit and have coffee each day together.
It's amazing how a few throw pillows can "update" a space instantly.
You have to have those things that are special to you close to you. Placed this treasure on "HIS" side, so sweet and obviously hand made with LOVE!
The baby room got a few throw pillows and we moved things around a little.
The upstairs rooms got some freshening up too. Their children come home a lot to visit so they wanted them to have some personality based on what each child likes. Again, we "used what they had" and made it work beautifully.
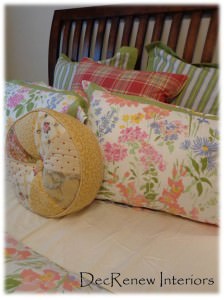
Ruthie's tip: If you buy a "bed in a bag" mix it up with other pillows so it isn't so matchy. I brought in the plaid pillow and the round pillow from another room and it happened to work perfectly. It isn't always that easy but buying a few pillows that didn't come with the set is a great way to mix it up.
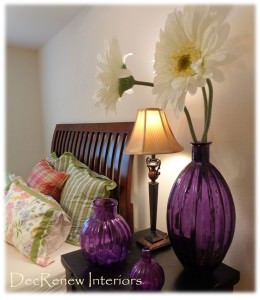
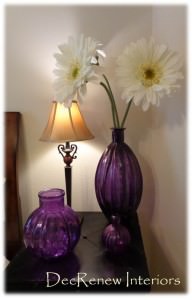
Found the large flowers in another room too and thought they deserved to be more of a focal point with these purple vases they already had. I've made a shopping list for a few things the upstairs rooms need and will place them in Phase II of the project.
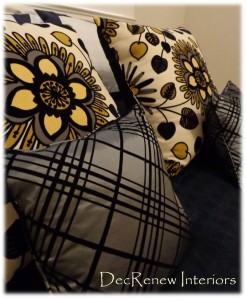
The pillows are stunning in the "Architects" room.
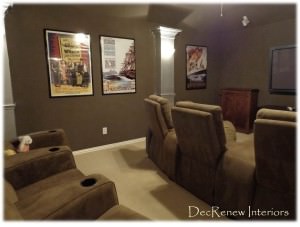
We had the theatre room painted a rich espresso and the columns got a nice silver metallic finish on them. We hung new posters and this room is ready for the show to start!
It was a fun, exhausting but a very rewarding day!
If you need help with your decorating, visit my website,
DecRenew Interiors to see my Design Portfolio.
Remodels, updates, one day decorating, hourly consultations and much more!
Follow me on Pinterest and be inspired!

