Rugs as Headboards...Do you like?

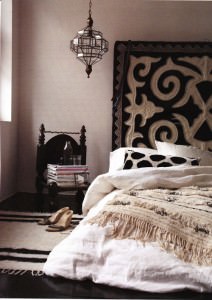
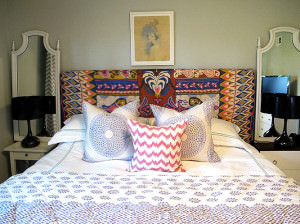
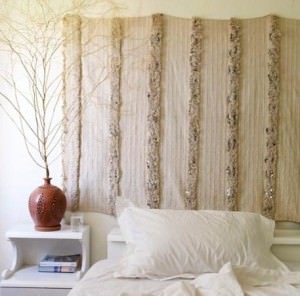
I love the idea of a rug headboard.  Especially one as unique as this one above.
Just look at the colorful options that are available!  An Ethnic market is the perfect place to go for this kind of thing. 
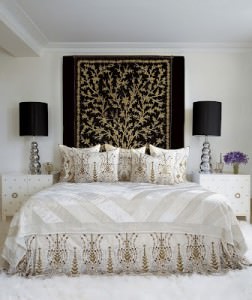
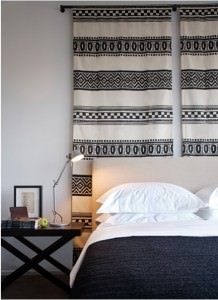
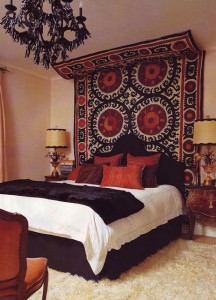
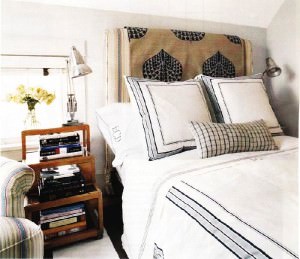
Black painted inset as the backdrop and then the rug layered on top, hung on a rod.  How gorgeous is that.  I'd love to see a zebra rug done like this.  Not as crazy about the bedding, but love the headboard layering concept with a rug.
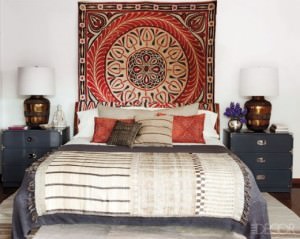
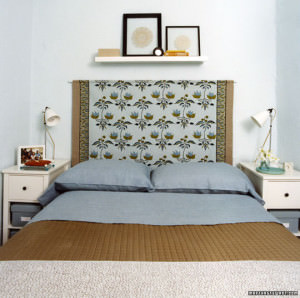
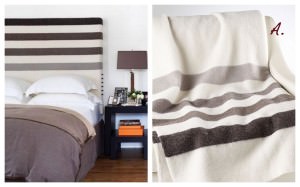
Great color combinations with the gray bedding and side tables
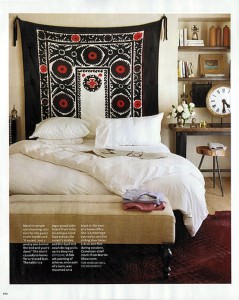
Black and red always make a huge statement.
2 runners hung together.  Very cool!
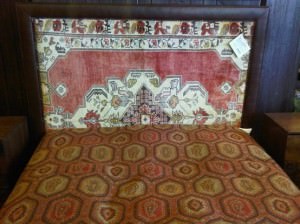
Custom made into a frame.  Don't like these two fabrics together but you get the concept.
Rug cut to the size you need.
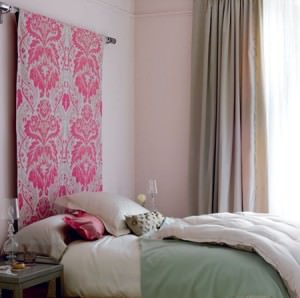
Fun thing about using rugs is you can hang them vertically or horizontally depending on what size bed you are using.  The above is a nice "girly" touch.
If you hate your current headboard, this is a great way to cover it up and add some character and a colorful pop.
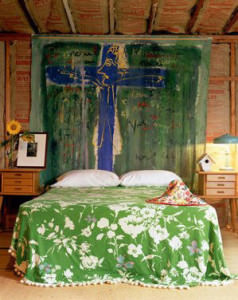
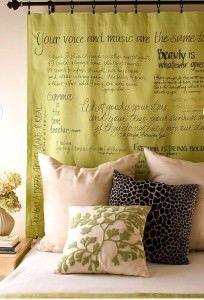
Why not create your own canvas rug headboard and write whatever you want on it.  You could even us a sheet for this and start it before you write your wording.
This isn't a rug but a painted canvas.  Very original idea and would be great for the artist!
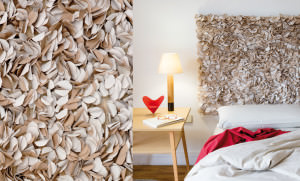
A lot of texture is cool too. 
Why not make a large rug into a canopy bed.
Simply unique.
Again, the layered look.
Any rug or blanket can be made into a headboard professionally too.  A blanket may be less expensive than fabric by the yard.
Here are some of my favorite rugs that I'd like to see as behind a bed.
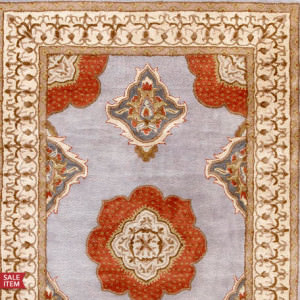
Wouldn't this be stunning?
Horchow.com
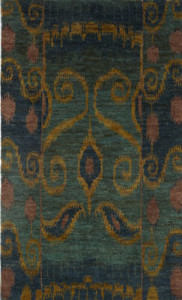
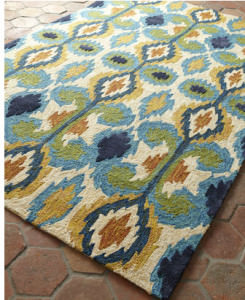
Be still my heart!  This is an incredible rug filled with all my favorite colors.
(World Market)
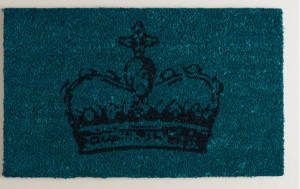
So colorful.
(World Market)
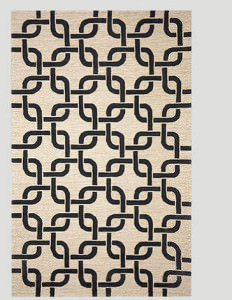
Cute for girl headboards.
(World Market)
(Horchow.com)
Hope this inspired you to be on the lookout for great rugs. The creative options are endless.
Ruthie's Tip:  Hang these rugs from nice drapery rods so they look tailored and finished.  Tacking them to the wall doesn't look classy and can cheapen the look.  The rods make it have a designer look.
This year, think outside the box with your home decor and keep following me on
Facebook, Pinterest and here on my blog for lots of inspiration and ideas to jumpstart you into doing wonderful things in your home. No more procrastination...YOU can do this and it doesn't have to cost you an arm and a leg, I promise.
 Visit my website DecRenew Interiors to see my Design Portfolio.


Fun website for word collages for your Blog

I found this fun website where you can create word collages using your Blog, Facebook Page, Twitter or Website.  All you have to do is type in your link and it searches that link for fun words you have used   So very cool!
Thought it would be fun for you blogger's out there to try! 
It allows you to create different shapes too!
Hope this year brings many blessings to you and your family.
I'm excited about this year!
I've got my new Furniture and Accessories coming out soon! 
 Visit my Facebook page One by One to see my new postings in a few weeks! 
I plan to:
Be Realistic in my goals
Focus on my Niche
Gather an encouraging support system
Use accessible tools for my success
Get more sleep
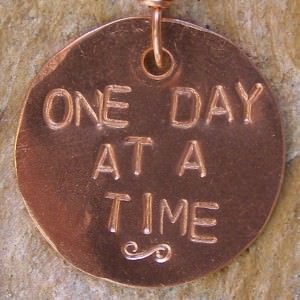
and finally....Take One Day at a Time!
  Visit my website at DecRenew.com to see my Design Portfolio.
Pecan Bars and The Military Diet

 
Today I'm in the kitchen making these delicious bites!
 
 
My husband loves turtles (above) but I'm getting sick of making those each year and decided to try something new.  Shhh, he doesn't know that yet.
 
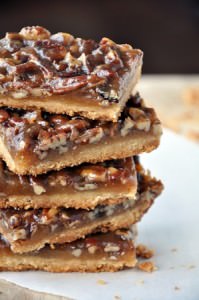
  I found this recipe and thought I'd try it.  Doesn't it look delicious?

Ingredients

3 Cups all purpose flour
1/2 cup white sugar
1/2 teaspoon salt
1 cup butter
4 eggs
1/2 cups light corn syrup
1 1/2 cups white sugar
3 tablespoons butter melted
1 1/2 teaspoons vanilla extract
2 1/2 cups chopped pecans

Directions:

Preheat oven to 350 degrees.  Grease a 9X13 pan WELL!

In a large bowl, stir together the flour, 1/2 cup of sugar and salt.  Cut in 1 cup of butter until mixture resembles course crumbs.  Sprinkle the mixture evenly over the prepared pan and press in firmly.

Bake for 20 minutes in the preheated oven.

While the crust is baking, prepare the filling.  In a large bowl mix together the eggs, corn syrup, 1 1/2 cups sugar, 3 tablespoons butter and vanilla until smooth.  Stir in the chopped pecans.  Spread the filing evenly over the crust as soon as it comes out of the oven.

Bake for 45 minutes in the preheated oven, or until set.  Allow to cool completely on a wire rack before slicing into bars.


I'm hoping they taste as good as they smell in the oven.
 
*********************************************
 
I started something that I've never done this week! 
 
 
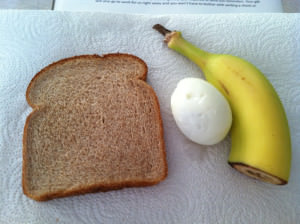
I've been on the 3 day diet for the past 2 days. It's called "The Military Diet"
 Visit this link for the details.
 

Not such a good idea when I'm having to do all this baking for Christmas.  However, my husband and I both decided to do it to get our Thanksgiving weight off before we go into Christmas.  It took some convincing for him to do it especially since he has never dieted before. 


We weigh in tomorrow so that should be interesting.  I'll let you know how we did.  It's been pretty brutal but we have managed.  I keep telling myself it will be worth it.  He keeps telling me that I tricked him into it, ha ha.  No caffeine for 2 days has been the brutal part.  HOWEVER....get this....you get a cup of vanilla ice cream each night.  Woo Hoo!


I've also been busy making some changes to my website and blog.  You will notice my new "follow me" buttons to the right.  Aren't they cute?   I'd love for you to follow me on Facebook, Instagram, Pinterest and Twitter.  It's a great way to see what I'm working on daily as well as a way for you to be inspired for your home with DIY projects, ideas, etc.  
 Just click them and they will take you to each site, so easy!


I'm taking a few weeks off to be with family over the holidays.  Thank you for following me this year on my blog.  I sure appreciate all of you that comment and all that I bump into that say they follow my blog religiously.  It means so much to me to have this support and I appreciate YOU so much.


Visit my website DecRenew Interiors to see before and after pictures and my Design Portfolio.
 
 P.S.  12/20/12 - We both lost 5 POUNDS on the MILITARY DIET! 

Holiday Recipes YOU will LOVE!


I'm in the baking mode and have been busy this week baking up a storm!  My good friend Sue came over Saturday and we made all kinds of goodies with my girls. My kitchen looked like a cookie factory!  It's a fun tradition we do every year and makes us get in the Christmas spirit.
 
 
 We had tons and tons of cookies and plated them all up and gave them away.
 
Source: Duncan Hines
 I did not make these beauties but am going to give them a try!
 
Aren't these ornament cupcakes from "Duncan Hines" and the above nutcrackers adorable.
 Great school/classroom Christmas party ideas.
 
Source:  Duncan Hines
 
Gingerbread boys would make some school kids giddy!  I've got to try this too!
 
 Shortbread cookies are my all time favorite cookie.  They are buttery and literally melt in your mouth!
Love the bell shapes and flowers we made this weekend.  This recipe is the absolute best and everyone that puts one in their mouth just about falls over with their deliciousness.
 
The ones we made this past weekend are already all gone!
 
Mom's "Easy" shortbread recipe
 
Blend together:
4 sticks butter
1 cup powdered sugar
1 cup cornstarch
 
Add:
4 cups of flour
 
Kneed well and roll out 1/4 inch thick.  Cut into desired designs.  Don't use large cookie cutters, the cookies are filling.
 
Bake at 275 degrees for 15-20 minutes.
 
Sprinkle with icing sugar!
 
I'm going to make another batch this week and decorate them like below!
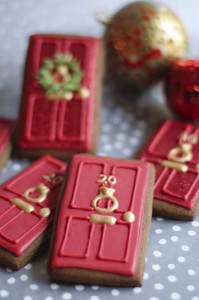
Red door cookies with gold hardware... 
Black ones will be cute too!
 
I'm in love with these!  I'll post pictures when I'm done :)
 
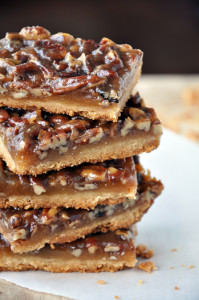
My husband loves pecan pie so I'm making this recipe I found on Pinterest.
 
 He is going to love these  Pecan Pie Bars
 
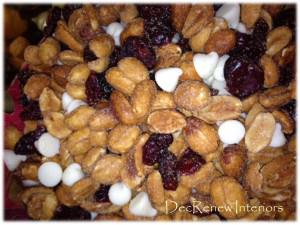
My good friend Terri got me hooked on this wonderful trail mix.  Honey roasted peanuts, craisins and white chocolate chips.  This is what I made for my neighbors last year and will do the same this year. It's Christmasy, colorful and addicting as well as absolutely delicious! 
 
 Easy to make:  equal parts of all three ingredients.
 
Happy baking Ya'll
 
Visit my website DecRenew Interiors to see my Design Portfolio with lots of before and after photo's.
Follow me on Pinterest and on Facebook


Christmas Column & Holiday Decor Inspiration

 
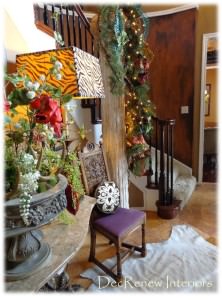
This year I decided to decorate my column for Christmas.  It sits in my foyer and I have always loved it.  It's incredibly special to me because my husband made it for me one Christmas.  I still have memories of him carrying it down the hall on Christmas morning with my then 4 and 5 year  old piggy tail girlie's.  They helped him paint it and sand it! 
 
 
He was so clever.  To embellish the column at the top he used drapery hardware and filled in the holes on the sides and it worked perfectly.
 
Our Christmas tree usually goes where the column is each year but I decided to mix it up this year.
 
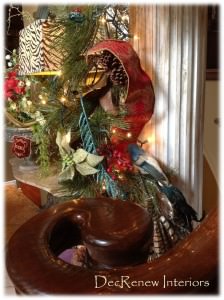
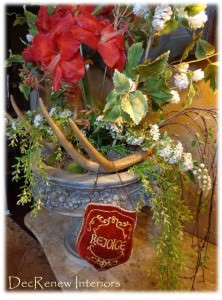
I made this arrangement about 6 years ago and love the concrete urn it's in.  The antlers were added last year.  Hanging a little "Rejoice" to it has made it have a special touch of Christmas and it is a time to Rejoice!
 
  
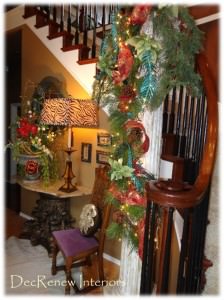
 I created and embellished the garland as I went along and unpacked all my Christmas items. 
 
 
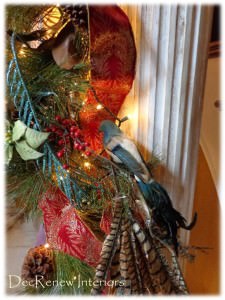
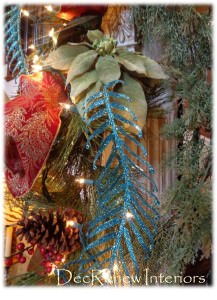
 Added this blue bird and some fun feathers that a client gave me.  The red ribbon is so gorgeous in person.
 
 Something sparkly and colorful always makes me happy and mixes it up a little.
 
 
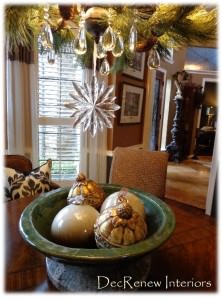
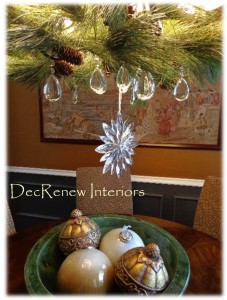
My dining room chandelier was embellished with some garland and a crystal snowflake.
 
 
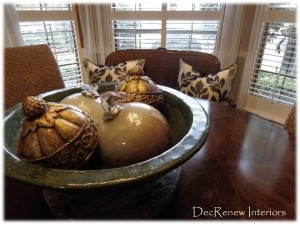
I have slowly added to my "large ornament" collection.  The blown glass ones are my favorite placed in my large green bowl that I keep out all year.  What I love about this centerpiece is that it doesn't have to be moved when we use the table because guests can still see each other. 
 
 
I find that when decorating for Christmas, it's always better to use LARGE scale items instead of a lot of little items.
 
 
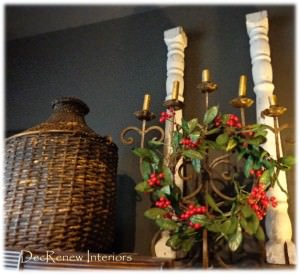
I added this little holly wreath to the top of my armoire.  Hung it on my candelabra.  It seems happy there with the my collection of old stair banisters.
 
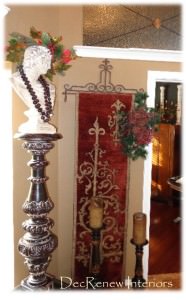
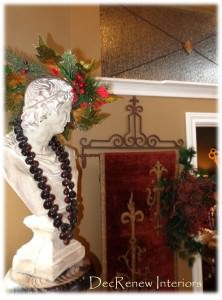
 My bust got put on top of my large candlestick this year.   He watches over me while I work in my office.  You can see a peek into it to the right. 
 
 
The tapestry that hangs in my entry is from the Paris Flea Market (they use to hang in a castle).  I bought 2 and one of them is getting made into a bench as we speak.  Will be a collection from my new One by One collection, coming soon!
 
 
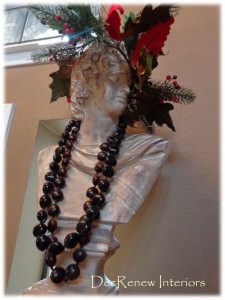
I adorned his head with a holly wreath :)  He always wears my wooden necklaces and I think it makes him look really cool.
 
 
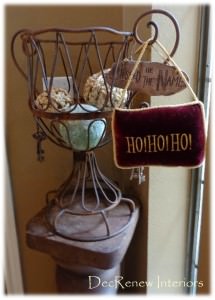
HO HO HO
 
 
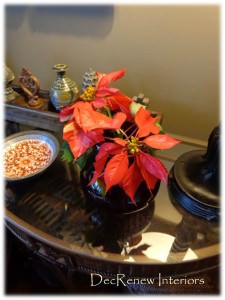
 I bought a poinsettia and placed the stems in different vases around the house.  I got this idea from Lauren Liess at Pure Style Home  last year.  Filed it away in my "Christmas" file in my brain last year and pulled it out this year.
 
 
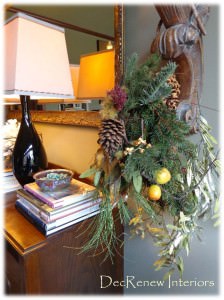
I added this garland to my wall sconces in my living room.  Layered different kind of garland to give it a nice fresh "real" look.  Again, a little sparkle and fruit  goes a long way.
 
 
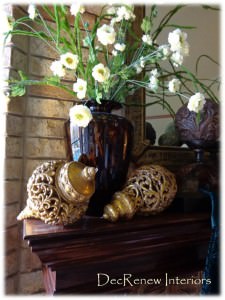
Some more of my large ornaments on my mantel.
 
Decided not to do the traditional garland this year.  Wanted something with less fuss.  I'm trying to "simplify" this year so there isn't such a huge put away day! 
 
The garland on my wall sconces is plenty!
 
  
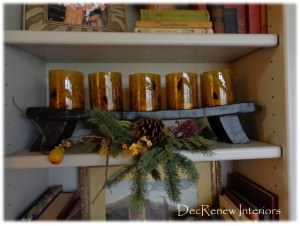
I did add a little greenery to my bookshelf .
 
 
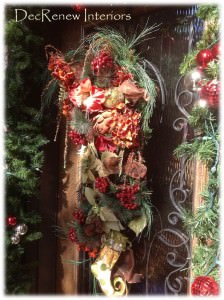
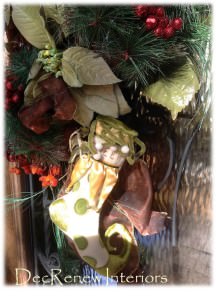
My front door swag got some extra berries and pointsetta's this year. 
 
I also added this little elf boot to the bottom and it's adorable.
 
 
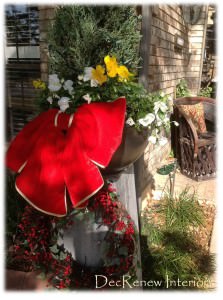
My entry planters got a large red bow and a red berry wreath.  I have one on each side of my entry so they really look great.  Especially when they are all lit up at night!  I put lights in the fur trees and around the wreaths.
 
 
My pansies are doing well this year even though it's been so warm!
 
 
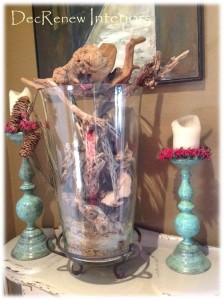
My large glass vase is filled with driftwood I've collected from all over.  I placed berries on the candlesticks and hung a little pine cone and greenery on the lip of the vase.
 
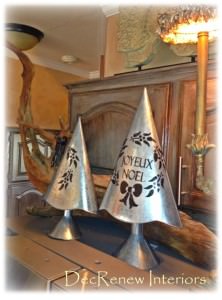
These metal trees I found at an estate sale and stenciled them to make them look more sophisticated.  They are now on top of my refrigerator with the driftwood my husband found for me on one of our beach trips :)
 
 
Hope this post inspired you to mix it up this year.  I love making each year different and maybe you will do the same!
 
 
Visit my website DecRenew Interiors to see my Design Gallery!
Follow me on Pinterest and be inspired this Holiday Season!